Anthropologie Knockoff – Piped Pot Holders
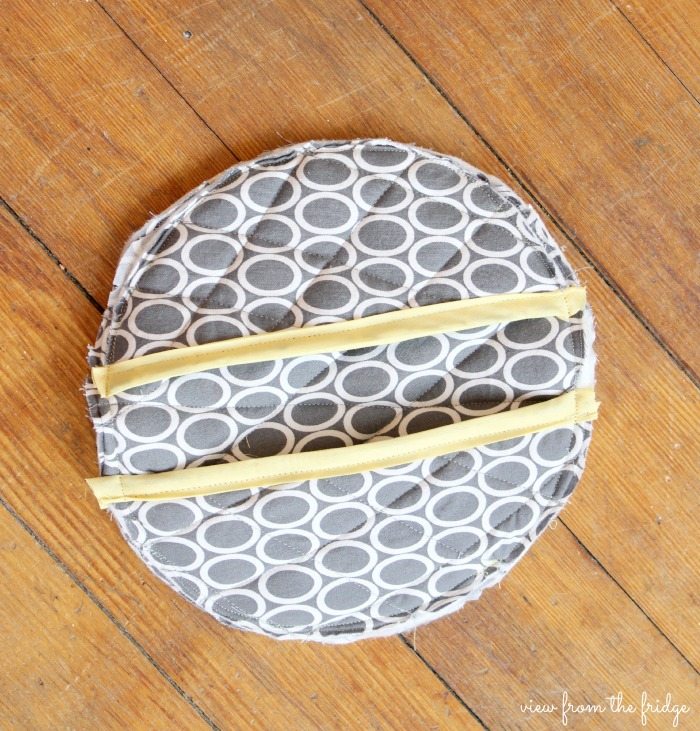
SUPPLIES
- ⅓ of a yard of fabric of your choice (I used this fabric – Remix Grey Circles by Ann Kelle)
- ⅓ yard Insul-Bright (basically, insulated batting … sold in the fabric store near the interfacing)
- ⅓ yard batting
- Package of Double Fold Bias Tape
STEPS
STEP 1: CUT FABRIC (THIS STEP PROBABLY TAKES THE LONGEST OF ALL …)
-
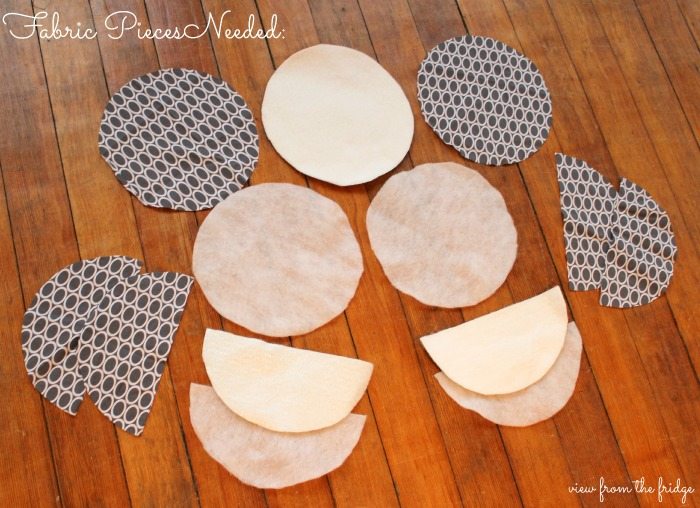
- Out of Fabric: Cut four 10″ diameter circles (or about 10″ … I used a small plate for a template)
- Cut two of these circles in half (easiest to fold in half and cut along crease)
- Out of Batting: Cut three 10″ diameter circles
- Cut ONE of these circles in half
- Out of Insul-Bright: Cut two 10″ diameter circles
- Cut ONE of these circles in half
- Out of Fabric: Cut four 10″ diameter circles (or about 10″ … I used a small plate for a template)
FABRIC PIECES CUTFor the back piece of the Oven Mitt (the full circle), layer the circles as follows:
STEP 2: MAKE THREE FABRIC ‘SANDWICHES’
- For the back of oven mitt (the full circle), layer in pieces from top to bottom in the following way:
- Fabric, right side UP
- batting
- Insul-Bright
- batting
- Fabric, right side DOWN
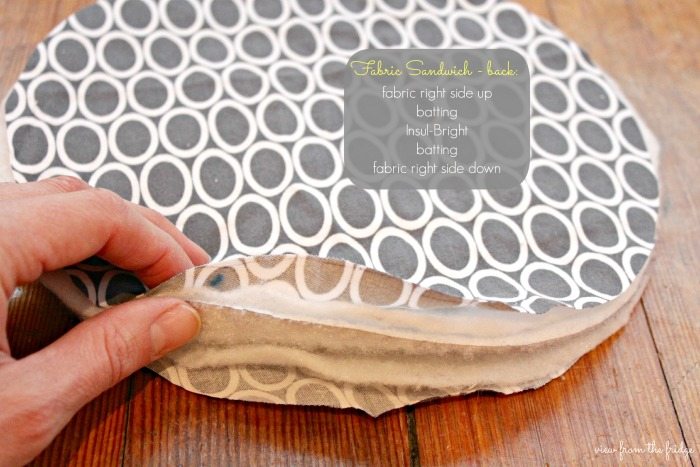
OVEN MITT BACK SANDWICH
- For the two front pieces, layer from top to bottom in the following way:
- Fabric piece right side UP
- batting
- Insul-Bright
- Fabric piece right side DOWN
STEP 3: SEW EACH FABRIC SANDWICH TOGETHER ALONG OUTER EDGES
- For the two front pieces (half circles), first cut ¾” – 1″ off the straight edge of the ‘sandwich’
- Pin each sandwich together
- Sew along all outer edges (~roughly ¼” seam allowance)
- Trim excess fabric outside of seam

BACK PANEL ‘SANDWICH’ SEWN TOGETHER (DO THIS TO THE FRONT TWO PANELS, TOO) THEN TRIM EDGES
- Quilt each piece by sewing diagonal lines across sandwich about 1.5″ apart . You can be as exact as you like (with measured out lines) or as inexact as you like (eyeball where each line needs to be). The ladder was my method of choice.
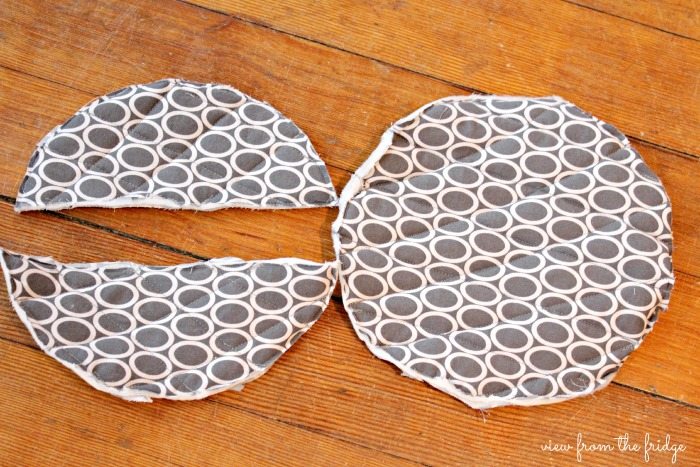
QUILT EACH PIECE BY SEWING DIAGONAL LINES ACROSS FACE (IN BOTH DIRECTIONS)
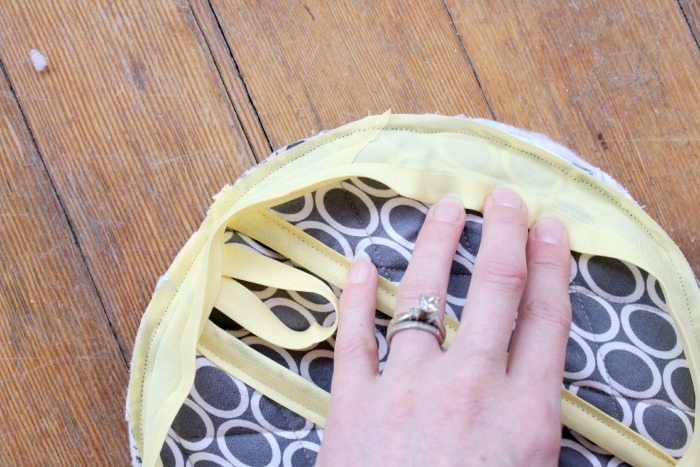
- I happily discovered that sewing double fold bias tape onto these pieces was incredibly easy!! I followed this great tutorial from the Angry Chicken Blog (that name makes me laugh every time…). She walks you through the process with an easy to follow video.
- Below are some pictures of the process:
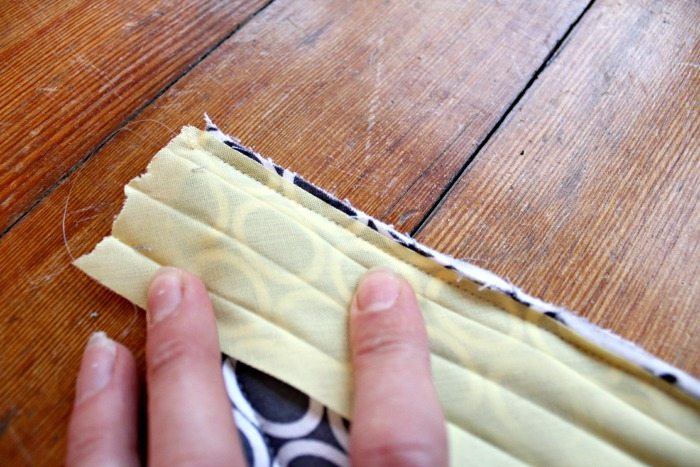
OPEN UP BIAS TAPE AND SEW ALONG EDGE AS SHOWN
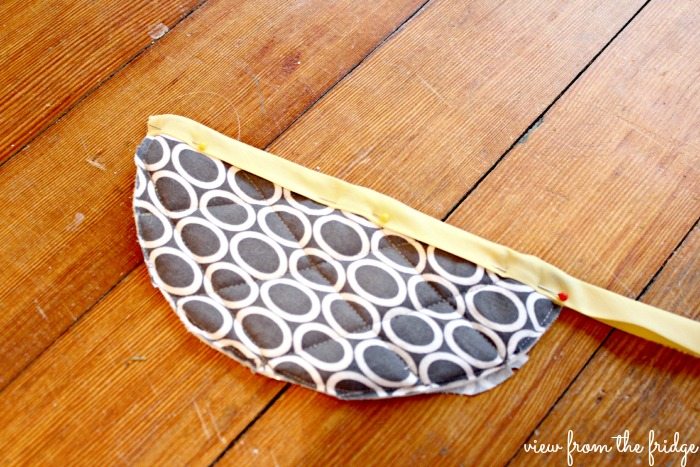
FOLD THE BIAS TAPE OVER THE EDGE, PIN IN PLACE, THEN SEW ANOTHER SEAM RIGHT OVER THE TOP
STEP 6: SEW ALL THREE PIECES TOGETHER

SEW FRONT PIECES TO BACK PIECE
- Cut a short piece of the bias tape to create a loop at the top. Pin the loop facing into the center of the mitt as shown
- Carefully pin bias tape all around outer edge going right over your loop
- Sew in place.
- Fold bias tape over edge, fold loop UP
- Sew around outer edge again
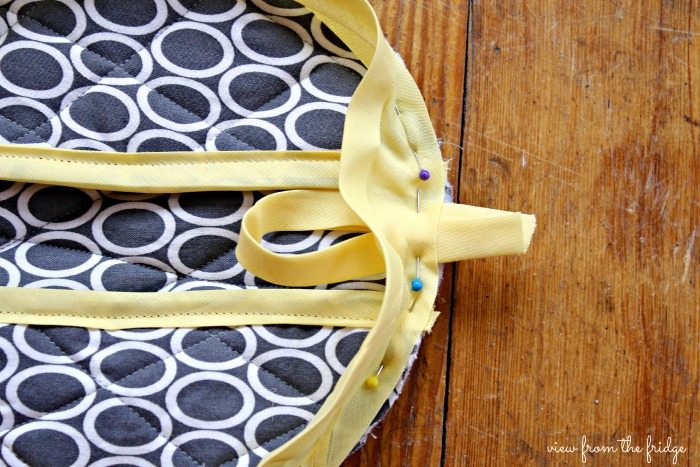
PIN LOOP AT TOP OF MITT, FACING INTO CENTER. PIN BIAS TAPE AROUND OUTER EDGE
SEW YOUR BIAS TAPE ON, TRIM ENDS OF LOOP
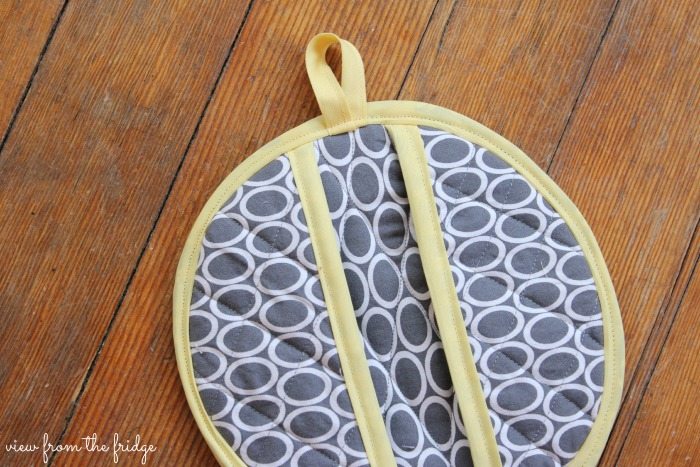
FOLD BIAS TAPE OVER EDGE. FOLD LOOP UP, AND SEW AROUND OUTER EDGE

