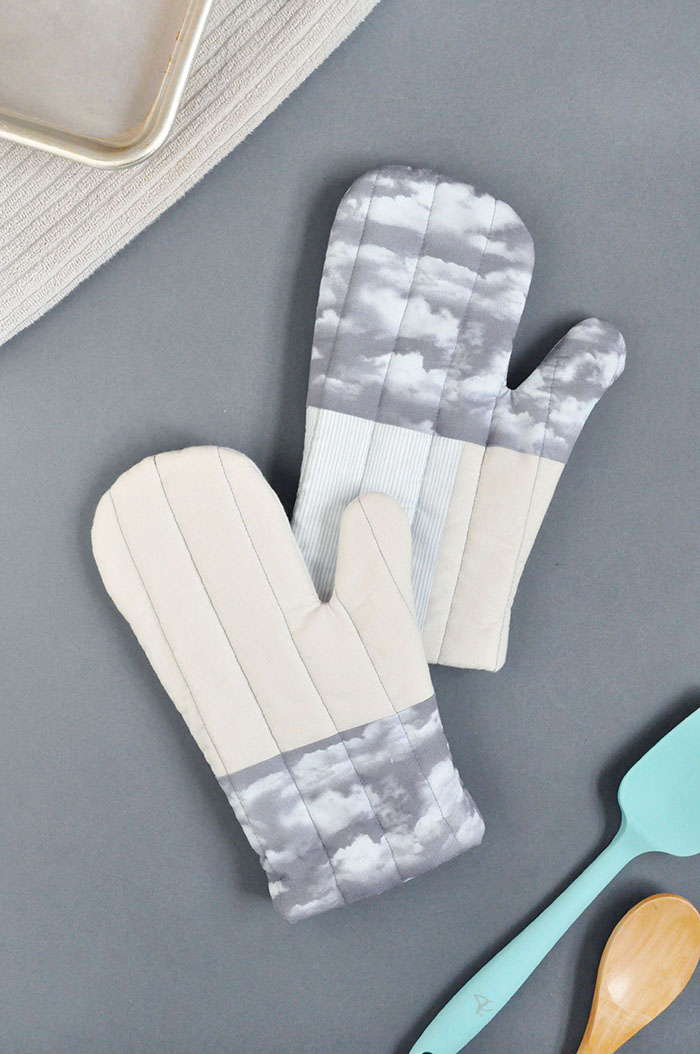
Quilted Cloud Oven Mitts


Supply

- Insulated lining/ blanket - Ruler
-pencil
-scissors
-thread
-sewing machine (not pictured)
-iron (not pictured)
-cotton in various colors/patterns (I used this cloud model)
-straight needles -needle

Steps

Step 1: (To make AN oven mitt) Pull an oven mitt onto the fabric you want to use as a lining — I traced an old mitt on my hand.
Cut at least 1/2" from the outside of the line.
Use this as a template to cut the other lining — if your fabric is patterned, be sure to reverse one.

Step 2: Cut one layer of insulation for each cotton lining.

Step 3: Now for the fun part: installing the patchwork.
Using the cotton lining as my guide, I placed squares of fabric underneath until I was satisfied with the layout.
Don't forget to cut everything in twos for each side of the oven mitt.

Step 4: Sew the two small squares together and press the seams flat.

Step 5: Sew the rectangle to the two squares, be sure to make them mirror images. Press all seams.

Step 6: Lay the patchwork on your work surface with the good side down.
Put the insulation on top and then put the cotton lining on top and fasten all the layers together.
Use a ruler and pencil to draw vertical lines on the liner - this is where you will be doing your quilting.
Do the same for the other side of the oven mitt.

Step 7: Stitch the lines you just drew and remove the pins as you go. Cut off excess threads.

Step 8: Now pin your quilting pieces together with the patchwork sides facing in.

Step 9: Sew around the glove following the pencil line you drew in Step 1 (you can redraw this if it is no longer visible).
At the bottom in the thumb area, do not sew in a V shape — for best results,
you should make a square U with at least three stitches on the bottom.
It's a good idea to go back and forth over this area to make it extra strong.

Step 10: Trim off the excess seam allowance. In the thumb area, cut as closely as possible without cutting any threads.

Step 11: Turn the glove right side out. Fold the raw bottom edge into the glove and pin in place.
I sewed this stitch by hand using a ladder stitch,
but you could use a whip stitch instead or even use the sewing machine to work it faster.
I prefer the hand sewing method because then there is no horizontal seam on the outside competing with the vertical quilting lines.


