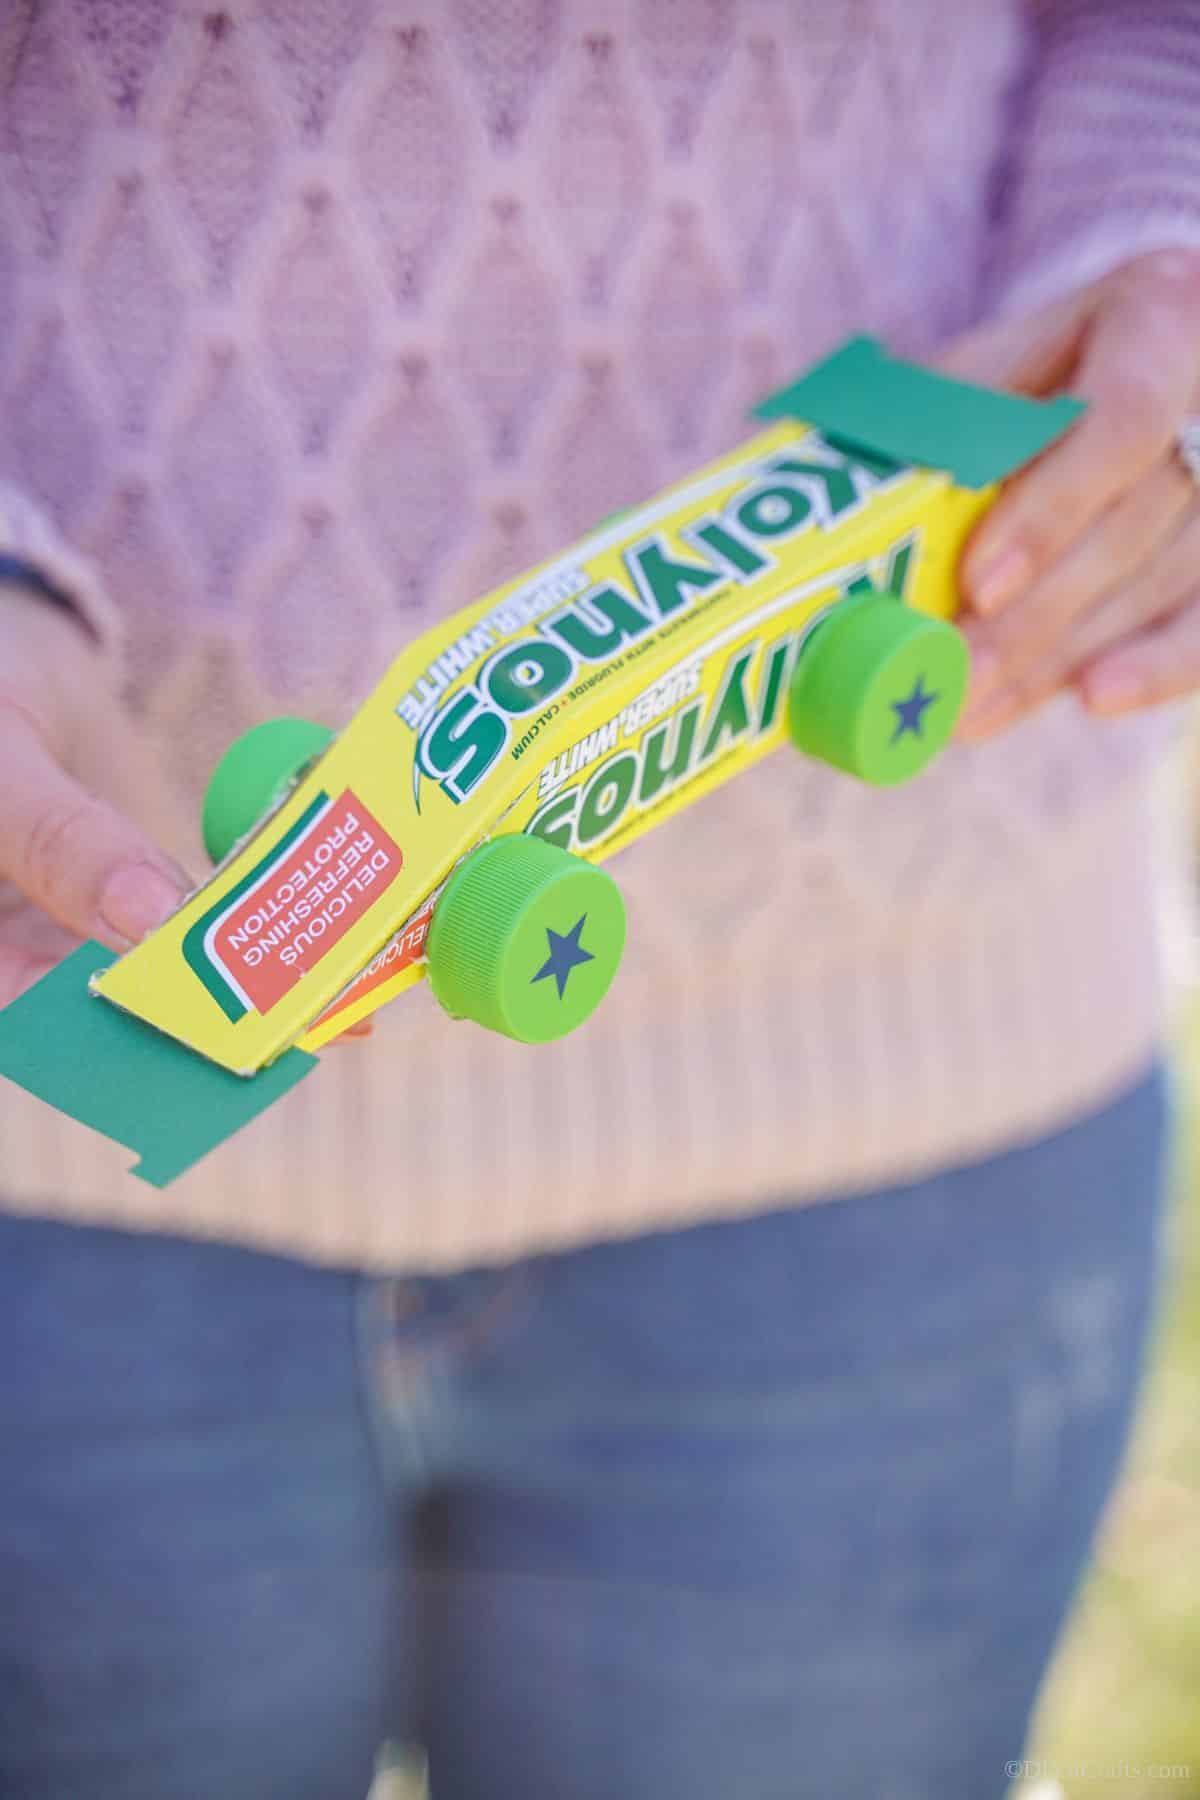
Upcycled Box Race Car
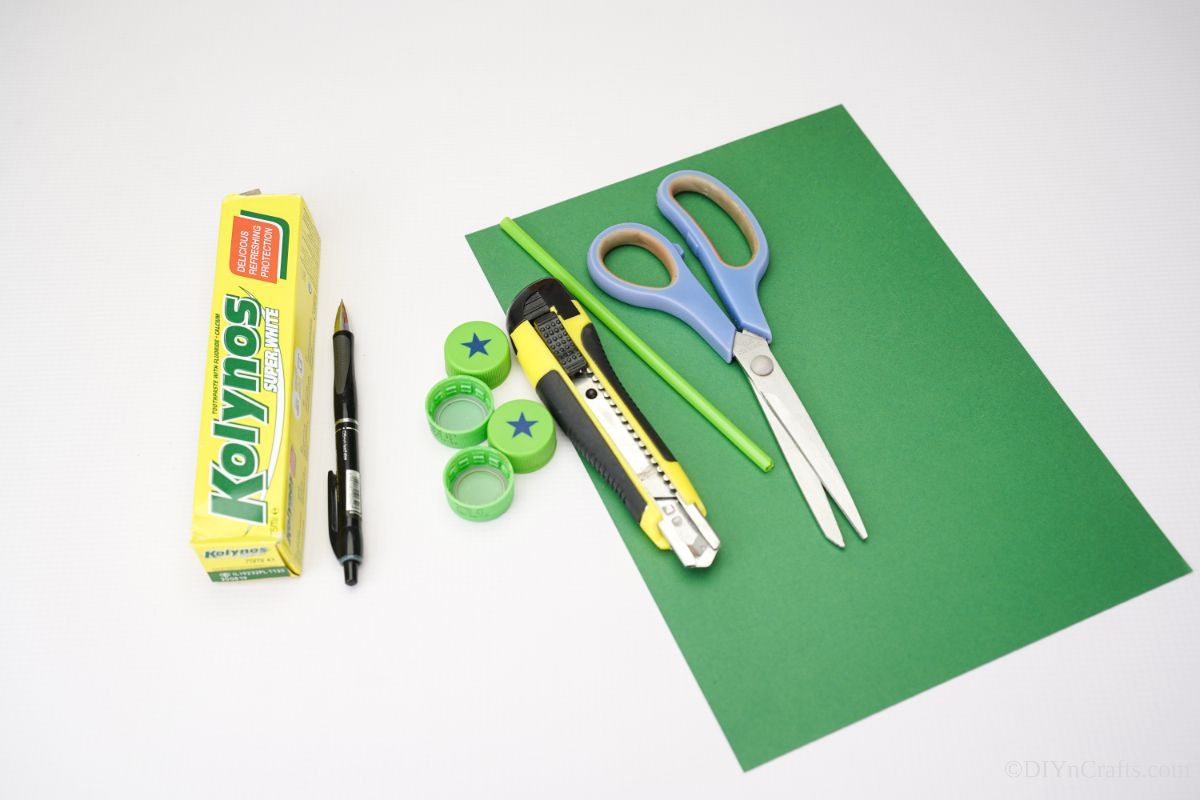
Supplies Needed
- Empty toothpaste box
- 4 bottle lids
- Green craft paper
- Green straw
- Scissors
- Craft knife
- Hot glue gun
- Hot glue stick
How to Make a Box Race Car
For this project, I am using an empty toothpaste box. You can use any smaller box that is longer than it is wide. If you prefer to paint the box or cover it with paper, you will want to do that to begin and let it dry completely before continuing with the project.
Begin by tracing a triangle shape so that one edge is at the seam and the other is about ½” upwards onto the box. This creates a right angle at the end of the box.
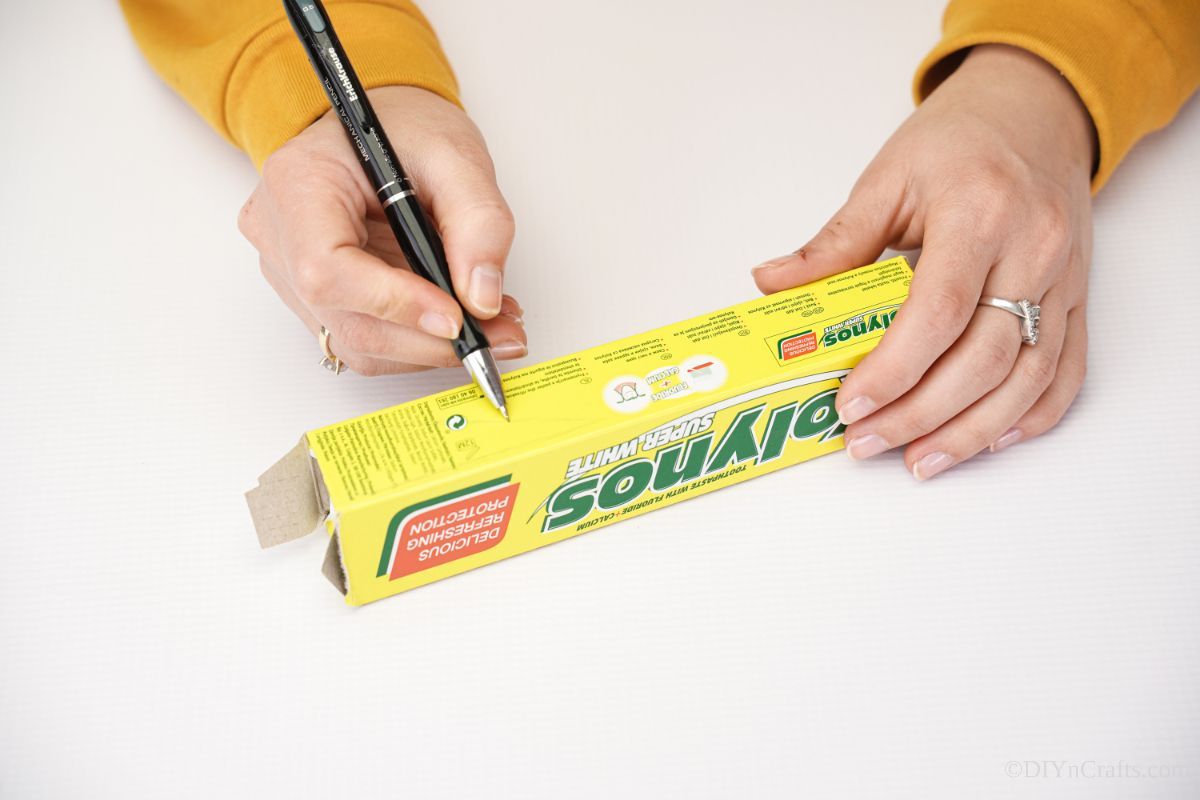
Repeat this process on the other side so they match. This will be where you cut and trim to create the front sloped part of the car.
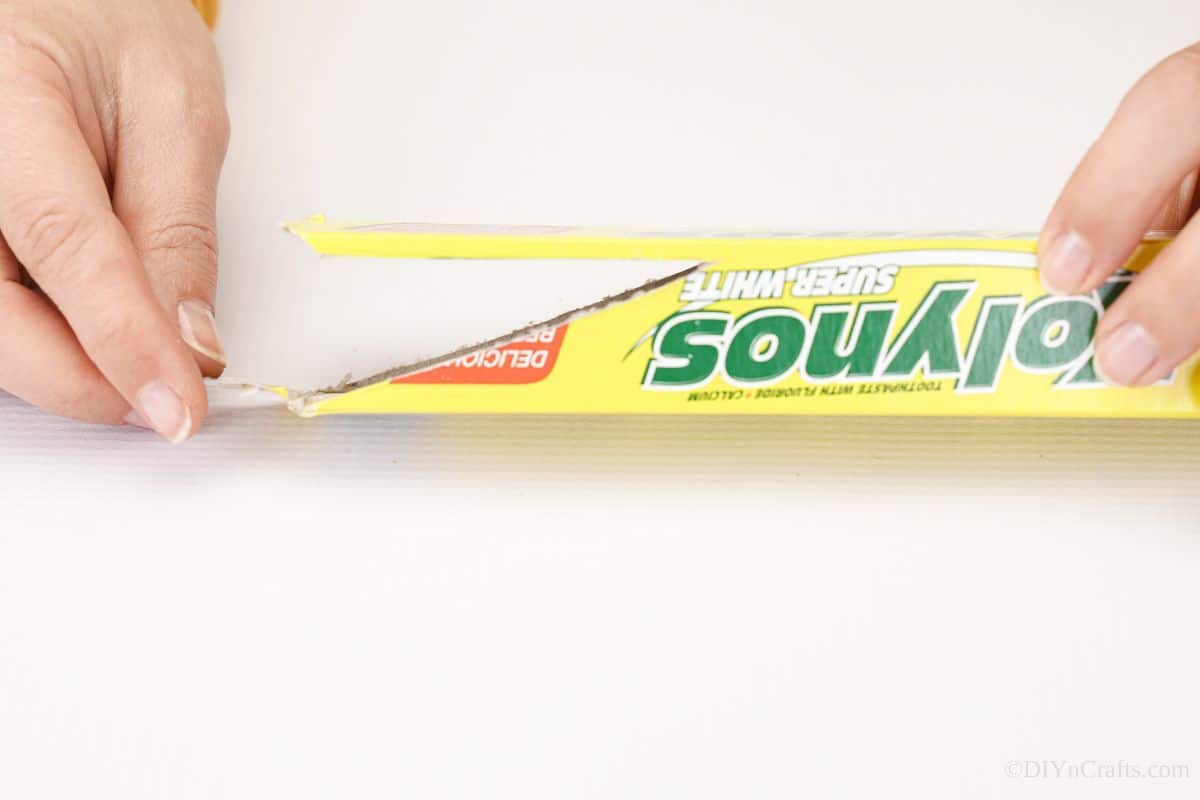
Now, trim off the excess on both sides of the box leaving just the triangles on the sides. Then, trim off the ends of the box where the flaps are so you have straight edges.
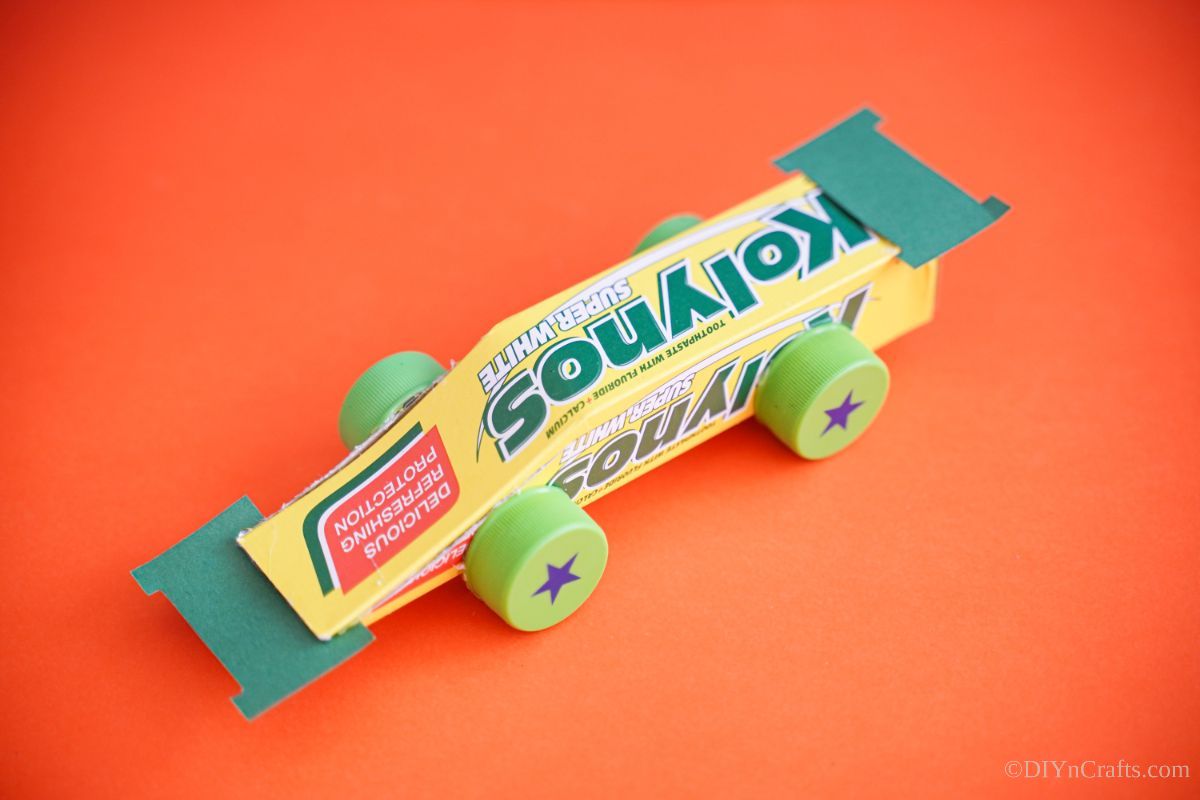
Now it is time to start creating the car look. I used green paper for this step, but you can use any color you want. Match the colors of the logo on the box, or something totally different. Trace a rectangle slightly wider than the end of the car on a piece of green paper.
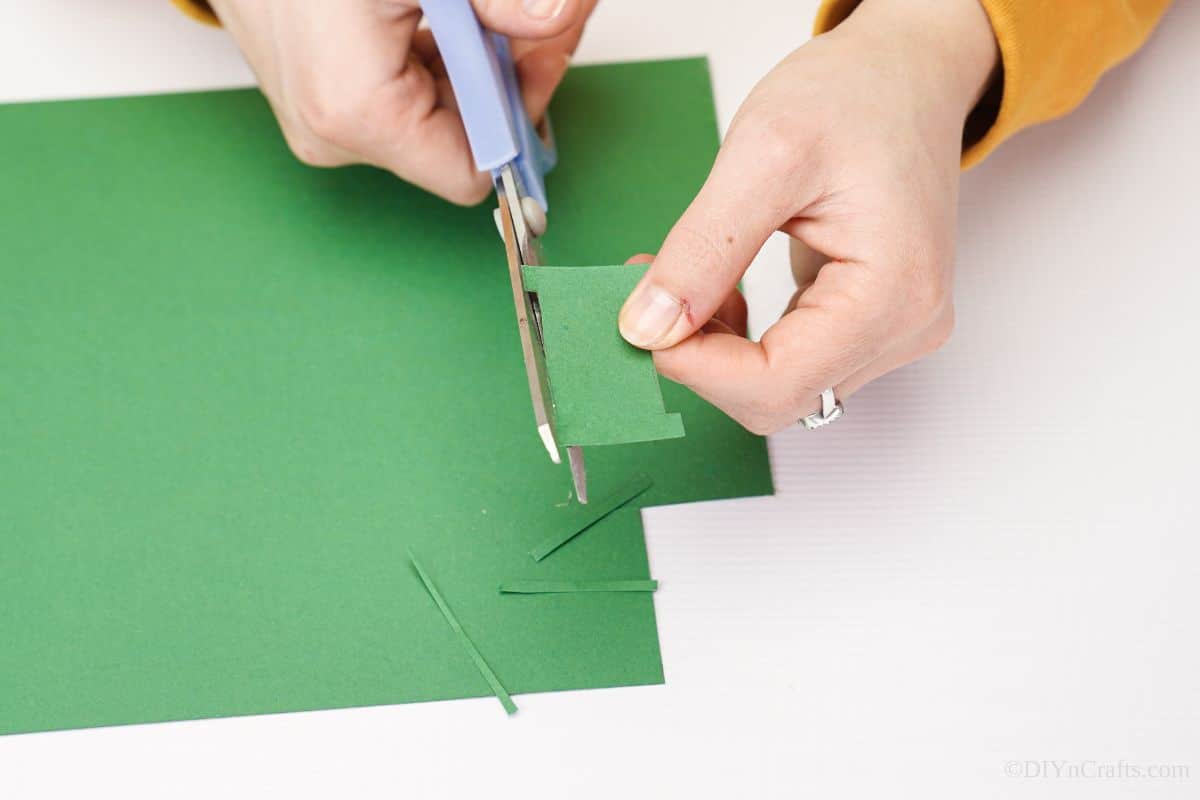
Cut out the rectangle, then cut a small strip out of both sides so both ends are intact to create a super wide “I” shape. Repeat this and make 2 identical pieces.
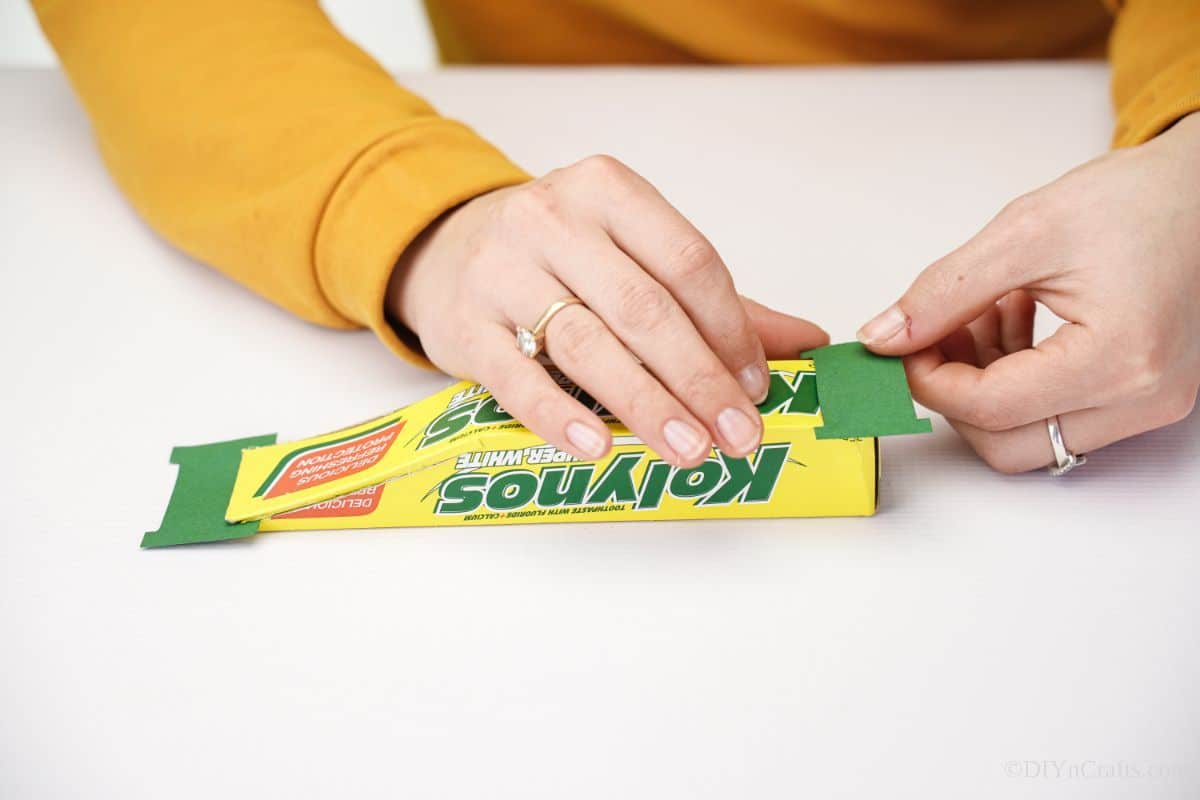
Now, glue one of these to the bottom of the open end of the box so it hangs over the sides and front. Then, fold the top down onto the bottom, and glue it into place holding it down into a curved nose that is thinner at the front.
Now, glue the second rectangle onto the top back of the box above the closed end.
The last step is to add the wheels. Glue two pieces of straw onto the bottom of the box, one near the front and one near the back. Leave these with about ⅛” hanging out on both sides.
Now, glue the bottle caps to the straws creating 2 wheels per side of the box car.
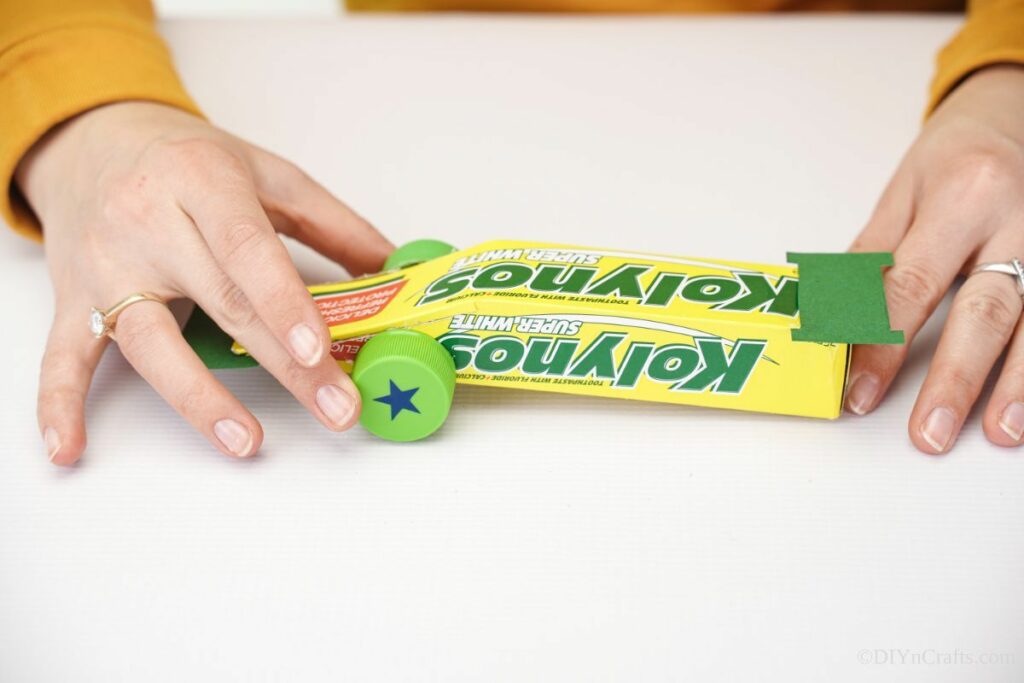
Add additional decorations to the car if desired.
