Large Hot Pad Tutorial
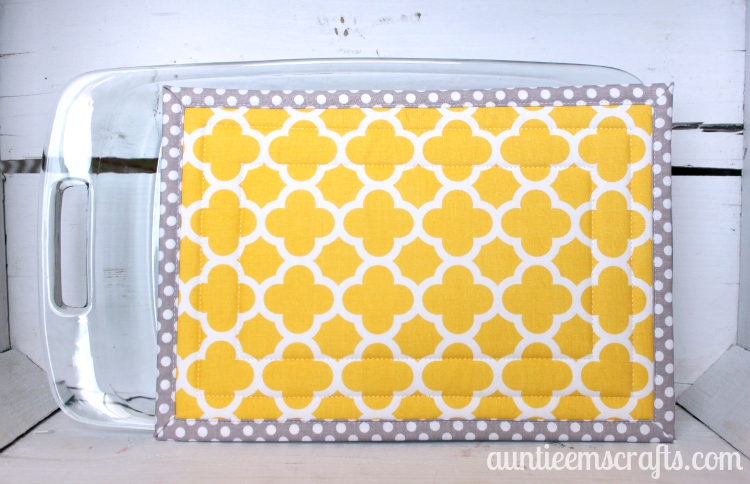
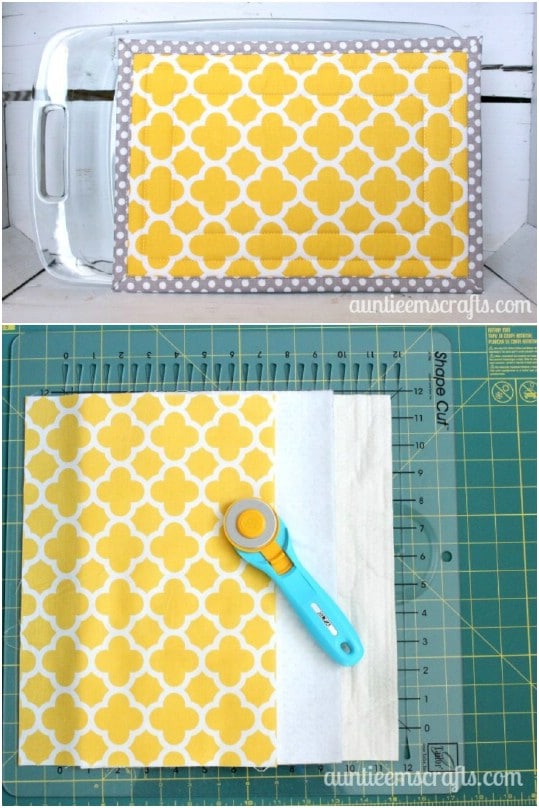
You will need:
13×9″ batting
13×9″ Insul-Bright (or second layer of batting)
13×9″ fabric for the top
16×12″ fabric for the bottom.
Tools: Coordinating thread, sewing machine, walking foot, basting spray, water soluble or disappearing ink marker, acrylic rulers, cutting mat, rotary cutter, iron, ironing board, Wonder Clips, and scissors.
2. Use the basting spray to join the two inside layers. You can use two layers of batting, Insul-bright, or one of each. If you use one of each, put the Insul-bright on the top. I use an old cutting mat or cardboard when spraying to keep my good cutting mat clean. I also recommend using this mat for cutting the batting materials.
3. Join the top fabric and the inside layers with the basting spray. Trim around the edges of the batting, if necessary.
4. Set your bottom piece of fabric face down on your work space. Line your 6×24″ ruler on the short side of the bottom fabric at the 1.5″ mark. It is helpful to have the fabric centered on two lines on the top and bottom. Dry fit the top of the hot pad onto the bottom fabric. Center it so that it is 1.5″ from the top and bottom.
5. Lift one side of the top and spray the basting spray onto the batting. Repeat for the other side. Flip the whole hot pad over to smooth out any winkles.
6. Use your 6×24″ ruler and water soluble pen to create two boxes on the top piece. Mark one 1″ away from the edge, and the other 2″ away (or mark it for your desired method for quilting.) Do not use a chalk marker, because it is difficult to later remove the markings.
The purple side of my marker is a little difficult to see so here is a close up.
7. With your walking foot, sew directly onto the drawn lines. Don’t wait too long, or the lines will start disappearing! Fix the stitch or back stitch at the beginning and end of your rectangles.
8. Tie the strings into a knot at the top and bottom sides of the hot pad. Clip the strings off, but be careful not to cut your knots off.
9. Starting on a long side, iron your backing fabric in half so that it makes a .75″ binding. Do as I say, not as I do! Starting on the long end is easier than the short end because of the clips you’ll use in step 10. 🙂 PS- Sorry to cause any confusion…. the black dot is my ironing board cover. I seem to have a thing for dots!
10. At the corner, clip a 1.5″ tall x .75″ wide rectangle out of the fabric. This is to help reduce bulk on the finished binding.
11. Turn the project so that the cut corner is now at the top right (photo 1). Fold the binding down onto the top fabric (photo 2). Pull the fabric down to create a triangle with the next side. Space the triangle slightly away from the edge (photo 3). Fold the side down on top of the triangle. Iron it even with the edge (photo 4). Start using the Wonder Clips every few inches to hold the binding in place.
12. Continue clipping the excess corner fabric off, folding the corners, folding the binding, and placing the Wonder Clips every few inches all the way around.
13. Sew the binding down, approx 1/8″ from the edge. Fix the stitch or back stitch at the beginning and end. Tie the strings into a knot at the top and bottom and clip the strings.
You can follow these same directions for a standard sized hot pad by cutting your fabric and batting to 8.5″ square and 11.5″ square for the bottom fabric.

